≡ Menu

Artichoke-Spinach Dip

Artichoke-Spinach Dip

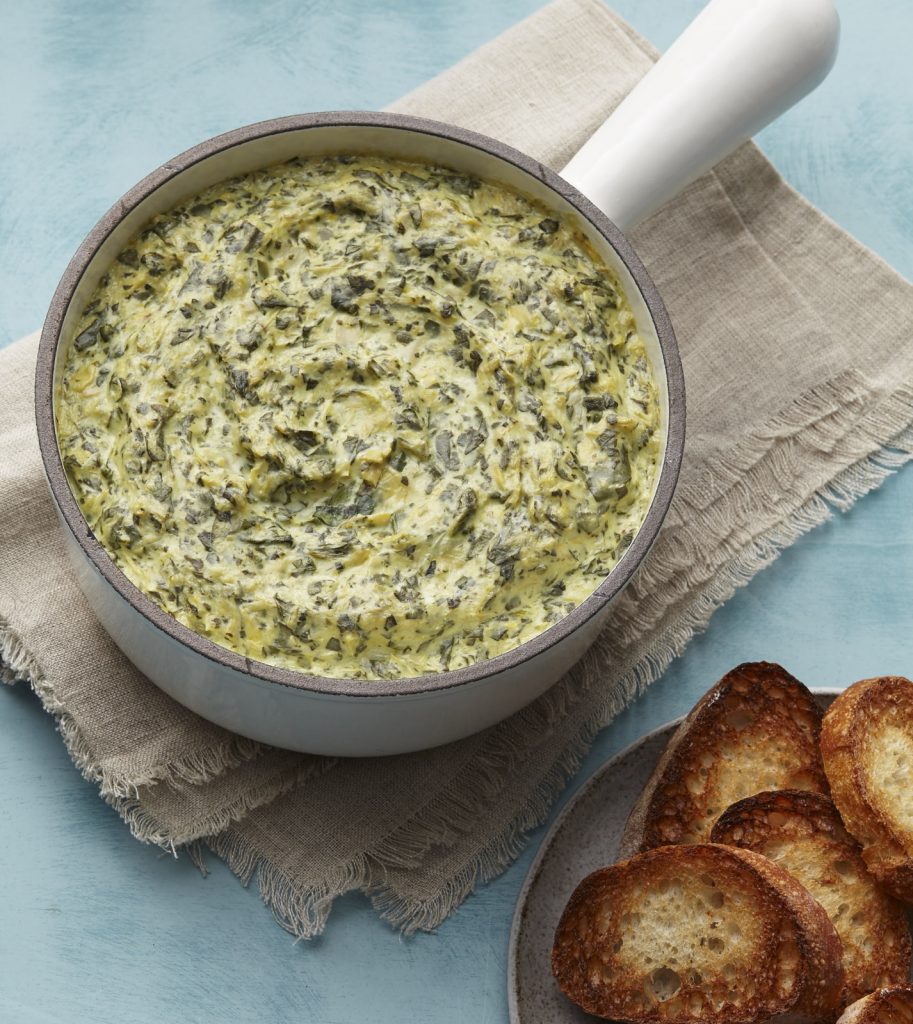
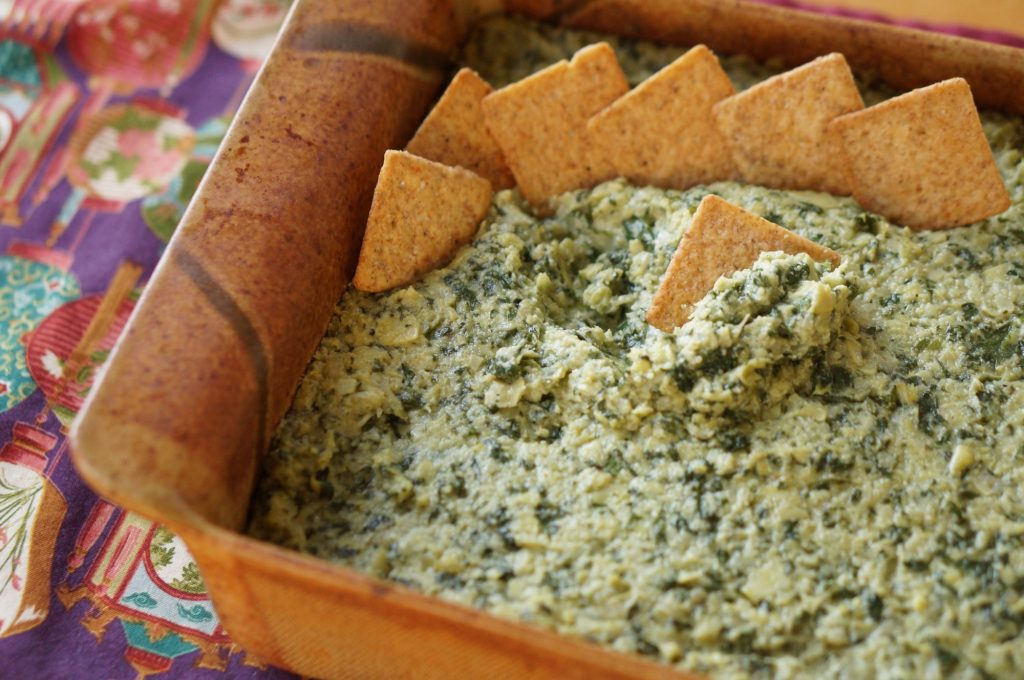
I love anything with artichokes: grilled fresh baby artichokes are the beyond compare.  When I can’t get fresh artichokes, I satisfy my craving with frozen, jarred, or canned.  I like to put marinated artichoke hearts in salads and that the creamy and delicious artichoke-spinach dip is a longtime favorite.  In fact, I’m such a fan of that dip that I’ve developed a few other ways to use it such as a pasta sauce, or as a tasty filling for palmiers.

First, the dip itself.  Sometimes I make it with a homemade cashew cream cheese (see Veganize It!), but more often than not, I opt for saving time and use a commercial vegan cream cheese.  The dip is quick and easy to make and can be made ahead of when you need it.  You can pop it in the oven just before serving time or do what I usually do:  heat it in a small slow cooker.

Artichoke-Spinach Dip

1 (10-ounce) bag baby spinach, lightly steamed, then squeezed dry

1 cup vegan cream cheese

1 tablespoon fresh lemon juice

1/4 cup nutritional yeast

3/4 teaspoon onion powder

1/2 teaspoon garlic powder

3/4 teaspoon salt

1/4 teaspoon ground black pepper

2 (12 -ounce) jars marinated artichoke hearts, well drained and blotted dry

Preheat the oven to 400 degrees °F.

Lightly steam or microwave the spinach for 1 minute or until wilted.  Allow to cool.

Combine the cream cheese, lemon juice, nutritional yeast, onion powder, garlic powder, salt, and pepper in a food processor. Blend until very smooth.

When the spinach is cool enough to handle, squeeze any liquid from it and add it to the mixture in the food processor.  Add the artichokes and pulse to combine, leaving some texture. Do not over-process.

Transfer to an ovenproof baking dish, and bake uncovered for 15 minutes, or until hot. Remove from the oven and let cool slightly. Serve with toasted French bread slices or your favorite crackers.

Makes about 3 cups

Slow Cooker Variation:  Instead of baking in the oven, transfer the dip to a small (1 quart) slow cooker and cook on High for about 2 hours, or until hot.

 As a pasta sauce: To transform this dip into a great pasta sauce, simply thin it out with your favorite unsweetened plant milk until it’s the perfect consistency.  Then, add a little more onion powder, maybe some more nutritional yeast, and a little extra salt and pepper.  Heat until warm and toss with freshly cooked pasta.

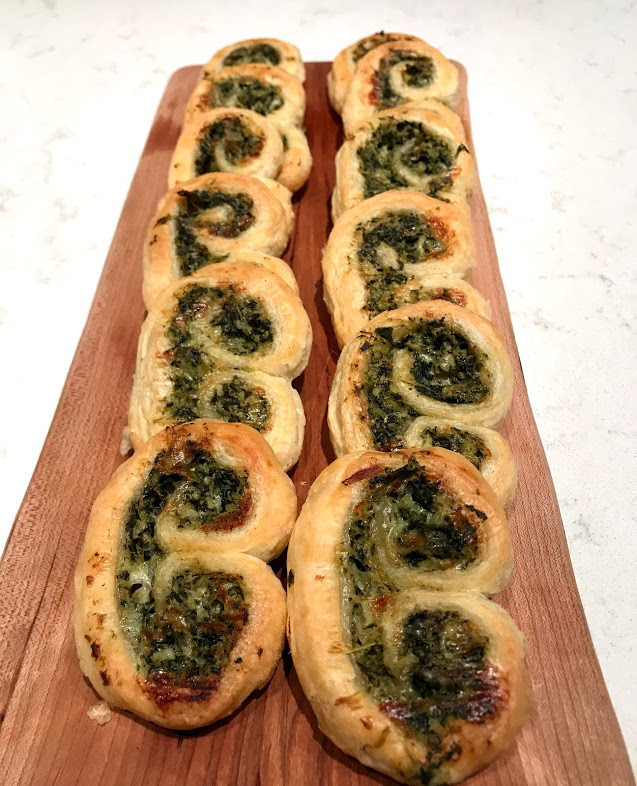
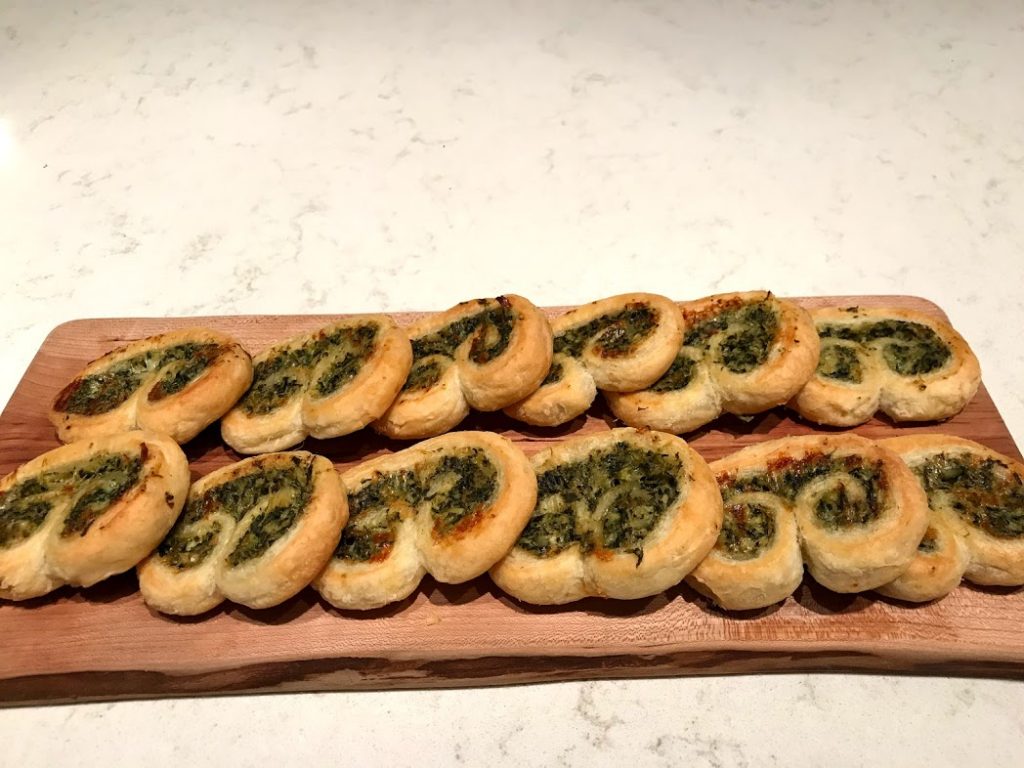
 Palmier filling: Another favorite way to enjoy the creamy goodness of artichoke-spinach dip is to use it as a filling for these light and flaky palmiers, made with vegan puff pastry, available in the freezer case of most supermarkets.  Best of all, these palmiers freeze well, so if you only need enough for a few people, you can freeze the second roll (unsliced) and thaw when needed.

Artichoke-Spinach Palmiers

 1 recipe Spinach-Artichoke Dip (see above)

1 package frozen puff pastry, thawed (Pepperidge Farm brand is vegan)

Unfold one sheet of puff pastry onto a flat work surface. Spread half of the artichoke-spinach mixture onto the pastry sheet, spreading to within 1/2 inch of the edges. Roll up one long side of the dough to the middle of the dough, then roll up the other side of the dough so the two rolls meet in the center. Repeat with the remaining dough sheet and filling mixture. Refrigerate for 45 minutes.

Preheat the oven to 400°F. Using a serrated knife, cut each roll into slices, slightly less than 1/2-inch thick. Place each slice, cut-side down, on parchment-lined baking sheets, allowing about 1-inch of space in between each slice.  Use a metal spatula to flatten the palmiers to 1/4-inch thickness.  Bake for 20 minutes or until golden brown. Serve warm.


{ 0 comments }

Vegan Mac & Cheese is Coming!

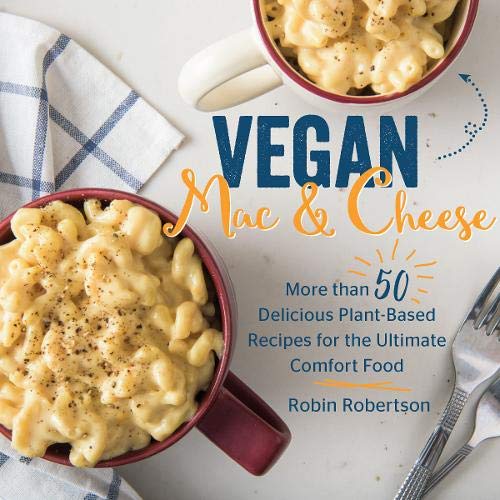
I have some exciting news about my upcoming book. Vegan Mac & Cheese will be released on September 17, 2019.  The best part (for now) is that it is available for Pre-Order on Amazon.

I will be posting more details soon, but for now, I hope you’ll celebrate with me and pre-order your copy of the first any only vegan cookbook dedicated to plant-based recipes for this comfort food favorite.  I love vegan mac and cheese and had so much fun writing a book about it.  If you’re mac and cheese lover too, I think you’re going to love this book!

Stay tuned for more about Vegan Mac & Cheese: More than 50 Delicious Plant-Based Recipes for the Ultimate Comfort Food.

{ 4 comments }

Dumpling Ramen Bowls

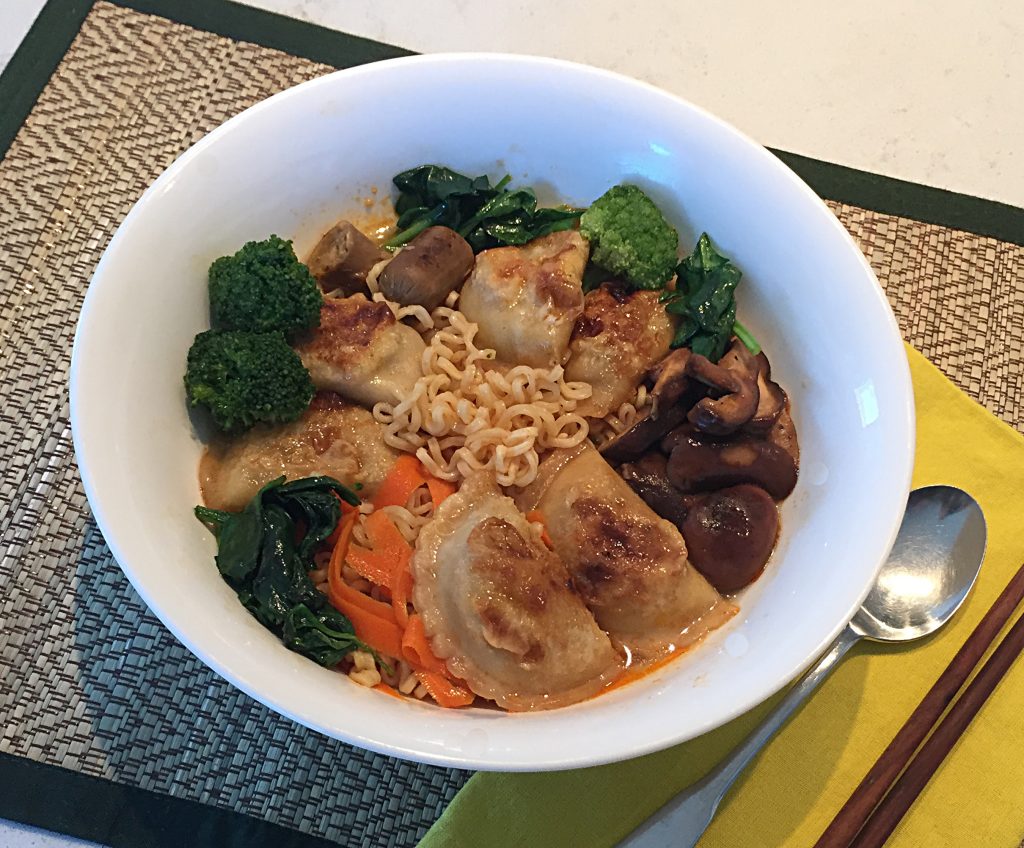
In our house, we’re crazy about ramen bowls.  They’re one-dish meals that are healthful, versatile, and easy-to-make. What’s not to love?

The cheapest and easiest noodles to use in ramen bowls are the eponymous ramen noodle bricks that you can find in any grocery store for about 20 cents each. (Just be sure to throw away the seasoning packet — nasty stuff in there!) When I have rice noodles on hand, I use them instead of the ramen noodles, and I’ve also been known to use leftover linguine or angel hair pasta.

For the broth, you can go with adding a regular vegetable soup base (I like Better than Bouillon brand) or even miso paste to water.  We’re tom yum soup fanatics, so more often I will season my broth with a great tom yum soup base I found that contains no animal products.

The vegetables and other ingredients you add to your bowls are only limited by your imagination (or, more accurately, what’s in your fridge).  Usually I add some diced extra-firm tofu (sautéed when I have the time, or just simmered with everything else when I’m in a hurry).  I’ve also been known to add pieces of vegan sausage (as I did here) as well as meatballs when I have them on hand.

I add whatever veggies I have on hand, whether fresh or frozen. These bowls are also a great way to use up small amounts of leftover vegetables.

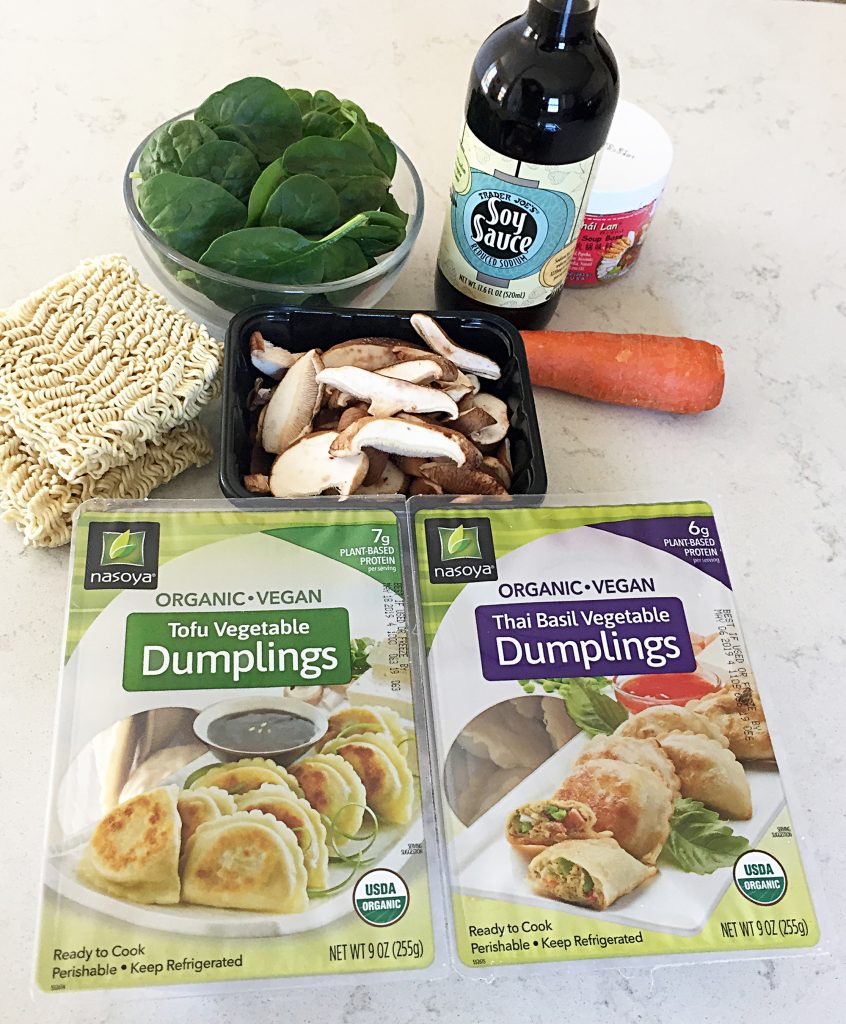
One of my favorite additions to ramen bowls are Asian dumplings.  I live in a rural area, so until recently, if I wanted Asian dumplings, I’d have to take a road trip to a city with an Asian market. But the nice people at Nasoya sent me samples of their organic Nasoya Vegan Dumplings to try for this post. I’m also happy to report that my local Food Lion now carries these dumplings (they’re in the fresh produce section next to the tofu), so I can now enjoy organic vegan dumplings anytime!  Click here for coupons to give them a try — they’re available in two flavors – Tofu Vegetable and Thai Basil Vegetable.

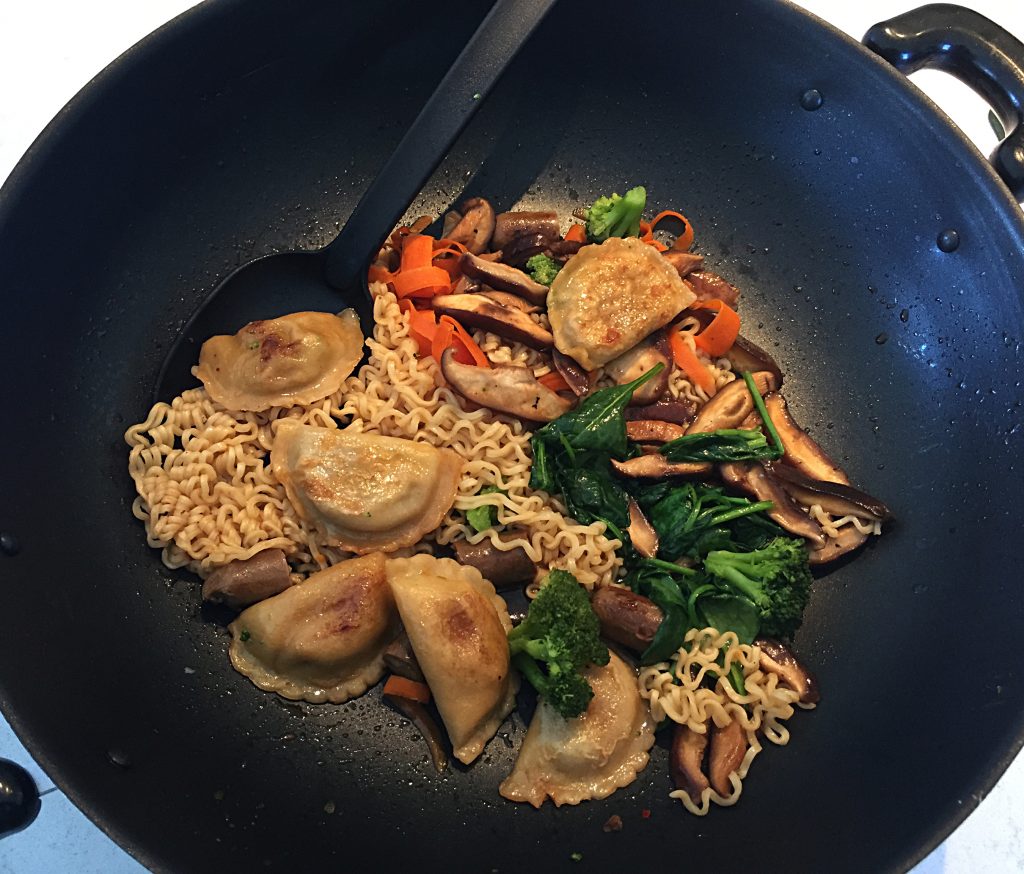
Below is my recipe for Dumpling Ramen Bowls.   They can be made super-quickly if you use the simmer-everything-together method, or you can take a few extra minutes to saute some of the ingredients separately (such as the dumplings) and add more flavor to the final result. I especially like to use my electric wok when I make these bowls because I find that it makes it easier, whichever method I use.


Here’s a recipe using my preferred method in which I saute a few of the components first:

 Dumpling Ramen Bowls

2 teaspoons neutral vegetable oil

1 package Nasoya Vegan Dumplings

1 ½ cups sliced shiitake mushrooms

2 tablespoons low-sodium soy sauce

3 cups water

2 teaspoons vegetable soup base or tom yum soup base

2 packages ramen noodles or rice noodles

1/2 cup shredded carrots

2 cups fresh baby spinach or baby bok choy

1 cup cooked broccoli florets (or other cooked vegetable, optional

2 diced vegan sausage links or 1 cup diced extra-firm tofu, optional

Sriracha, to taste, optional

Thai basil leaves or cilantro, optional garnish

Black sesame seeds, optional garnish

Heat the oil in a wok or large skillet over medium-high heat. Add the dumplings and stir-fry until nicely browned on both sides, about 2 minutes per side.  Add a splash of water, if needed to keep the dumplings from sticking. Remove the dumplings from the wok, and set aside. Reheat the wok or skillet over medium-high heat.  Add the mushrooms and a splash of soy sauce and stir-fry for 1 to 2 minutes to brown nicely and soften.  Remove the mushrooms from the wok and set aside.  Bring the the water to a boil in the wok or medium saucepan. Stir in the soup base until blended. Add the ramen noodles, carrot, and remaining soy sauce and reduce the heat to a simmer. Cook until the noodles are tender, about 2 minutes. Add the spinach and stir gently until the spinach is wilted.

Divide the noodle mixture into large soup bowls, arranging the carrots and spinach on top of the noodles.  Return the dumplings and mushrooms to the wok and heat until hot.  Arrange the dumplings and mushrooms on top of the noodles, next to the spinach and carrots.  Add the cooked broccoli and vegan sausage and stir-fry for a minute to heat through.  To serve, drizzle each bowl with sriracha, if using.  Taste and adjust the seasonings, if needed. Garnish with basil or cilantro and a sprinkle of sesame seeds, if using.

Makes 2 to 4 servings


NOTE: For the quick, no-oil, Simmer-Everything-Together Method, use the above ingredients (except the oil) and proceed as follows:

Heat the water in a large saucepan.  Add the soy sauce and vegetable soup base or tom yum soup base and bring to a boil.  Add the Nasoya Vegan Dumplings and return the water to a boil for 2 to 3 minutes. Add the ramen noodles, mushrooms, and reduce the heat to a simmer. Cook until the noodles and dumplings are tender, about 2 minutes. Add the carrots, and spinach and stir gently until the spinach is wilted. Taste and adjust the seasonings, if needed. Stir in any additional cooked veggies, tofu, or other ingredients, as desired.

Divide the soup into bowls, arranging a few of the dumplings on top of each serving.  Drizzle with a little sriracha, if desired. Garnish with a few Thai basil or cilantro leaves and a sprinkle of sesame seeds, if using.

{ 8 comments }

Spicy Tomato Queso Dip

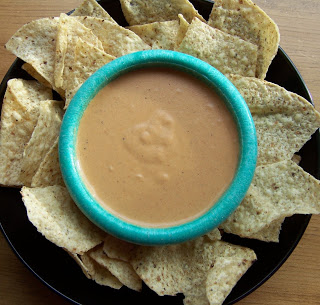
Just in time for the Super Bowl, here is one of my all-time favorite dips: Spicy Tomato Queso Dip (photo by Melissa Chapman) from Fresh from the Vegan Slow Cooker. I usually make this in a smaller (1 to 2 quart) slow cooker, but it’s an easy recipe to double or triple for a crowd and make it in a 3 to 4 quart slow cooker.

In addition to being a great dip, it’s also great in nachos, a vegan Philly Cheesesteak, burritos, and even as the cheese sauce in mac and cheese.

Spicy Tomato Queso Dip
This is a quick and delicious dip that assembles easily. It also lends itself to variations such as the addition of crumbled vegan chorizo or cooked black beans. This recipe is from Fresh from the Vegan Slow Cooker by Robin Robertson © 2012.
Slow cooker size: 1 1/2 quart
Cooking Time: 2 hours on Low

One 14.5-ounce can diced tomatoes with green chilies, drained
1/2 cup nutritional yeast
3 tablespoons oat flour
1 teaspoon prepared yellow mustard
1 teaspoon onion powder
1 teaspoon garlic powder
1/2 teaspoon ground cumin
1/2 teaspoon chili powder
1/2 teaspoon salt
1 cup nondairy milk
1 tablespoon fresh lemon juice

Puree the tomatoes in a blender or food processor until smooth. Add the remaining ingredients, except the nondairy milk and lemon juice, and blend until smooth.

Transfer the mixture to a lightly oiled 1 1/2 quart slow cooker. Stir in the nondairy milk until well incorporated. Cover and set the cooker on Low and cook, stirring occasionally, for 2 hours, or until the mixture is thick and hot. If the mixture isn’t thickening after 2 hours, turn it up to High, remove the lid, and cook uncovered for 20 to 30 minutes longer.

When ready to serve, spoon about 1/3 cup of the queso into a small bowl, stir in the lemon juice, then stir back into the slow cooker. Taste and adjust the seasonings, if needed.

Makes about 2 cups

{ 8 comments }

Vegan Shakshuka

If you’re looking for something different to wake up your taste buds, this vegan shakshuka may be just the ticket. Tofu replaces poached eggs in this spicy dish that originated in Tunisia. It’s great for brunch or a light supper.  I like to serve it with a side of oven-fried potatoes and a salad. Chopped cooked artichoke hearts are a good addition to the zesty sauce and are a good foil for the spicy heat. If you prefer less heat, you can reduce the amount of harissa, red pepper flakes, and/or jalapeno.  Serve with warm crusty Italian bread or pita bread.

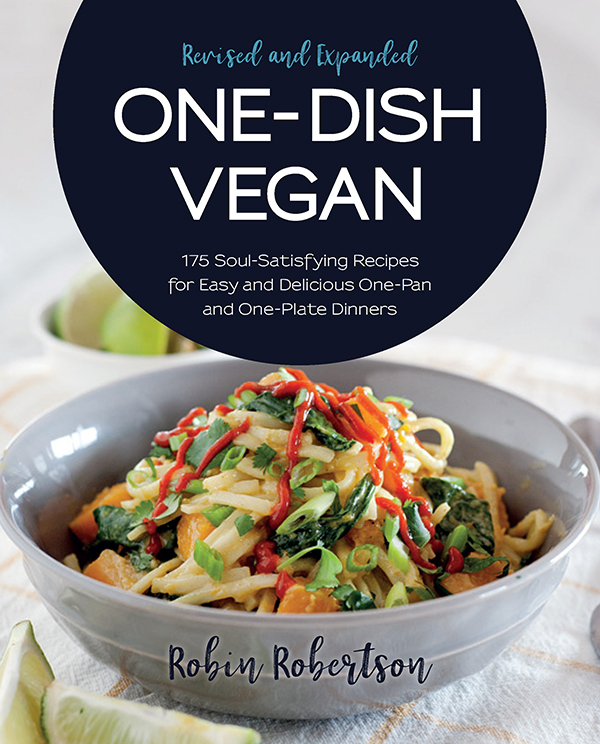
This is one of the 25 all-new recipes featured in One-Dish Vegan (Revised and Expanded edition).


Vegan Shakshuka

Makes 4 servings


12 ounces firm tofu, drained

1/4 teaspoon turmeric

1/4 teaspoon Indian black salt (kala namak), optional

Salt and ground black pepper

1 tablespoon olive oil

1 red onion, chopped

3 cloves garlic, minced

1 red bell pepper, chopped

1 jalapeño chile, seeded and minced

1 tablespoon smoked paprika

1/2 teaspoon ground cumin

1/4 cup nutritional yeast

2 teaspoons harissa paste or 1/2 teaspoon red pepper flakes

1 teaspoon sugar

1 tablespoon tomato paste

1 (28-ounce) can diced tomatoes, undrained

1 teaspoon Za’atar spices or 1/2 teaspoon dried oregano

Chopped parsley or cilantro, as garnish

Crusty Italian bread or warm pita bread, to serve

1/2 cup vegan unsweetened yogurt


Cut the block of tofu into four 1/2-inch thick slices, and then use a cookie cutter to cut the slices into 4-inch rounds.  Save the tofu scraps to use in a scramble or other recipe. Rub kala namak (if using) on the surface of the the tofu rounds. Rub the turmeric in a 1 ½-inch circle in the center of each tofu round. Season with salt and pepper and set aside.

Heat the olive oil in a skillet over medium heat. Add the onion and cook for 5 minutes to soften. Add the garlic, bell pepper, and chile and cook until tender, 5 minutes. Stir in the smoked paprika, cumin, tomato paste, harissa, sugar, tomato paste, and diced tomatoes. Cook, stirring, until slightly saucy, about 4 minutes, mashing any large pieces of tomato. Reduce the heat to low, season with salt and pepper to taste, and simmer for 10 minutes. Arrange the tofu rounds on top of the sauce, pressing down so just the centers show and the rest of the tofu is submerged in the sauce. Simmer for 10 minutes longer to thicken the sauce and heat the tofu.

To serve, sprinkle Za’atar spices and garnish with fresh parsley.  Serve with toasted crusty bread or baguette or pita bread and yogurt, if using.


{ 2 comments }

Tricked-Out Tofurky

This year, we will have Thanksgiving dinner on Saturday with friends, but I couldn’t let the actual day go by without doing at least some cooking — and we LOVE Thanksgiving leftovers!

I happened to pick up a Tofurky roast on sale, but I always end up making a separate baking dish of my own stuffing.  This time, I decided to transform the humble Tofurky into a holiday roast to be reckoned with by opening it up, stuffing it with A LOT of stuffing, and wrapping the whole thing in yuba (bean curd skin), before roasting it to perfection.

The actual process happened in a swirl of creativity, so I didn’t stop to take step-by-step photos.  I’ll explain what I did:

TRICKED-OUT TOFURKY

Ingredients:

1 recipe of your favorite stuffing, made ahead and refrigerated

1 Tofurky Roast

1 or 2 sheets of frozen yuba (bean curd skin), available in Asian markets, thawed and at room temperature

Method:

1. Make your favorite stuffing ahead of time and refrigerate in a bowl until needed.

2. Cut the ends off the Tofurky and discard the plastic wrapper.  Cut about a 1-inch thick slice off the bottom of the Tofurky and place the roast, cut side up, on your cutting board. Cut that 1-inch slice lengthwise into 2 1/2-inch slices and set them aside.

3. Carefully make a cut long-way through the center of the roast stopping just short of cutting all the way through. (The roast should stay in once piece, if possible.  Removing the stuffing and adding it to your bowl of stuffing. Cut a few diagonal slits in each side of the inside of the Tofurky, essentially to open it up to be nearly flat. Preheat the oven to 375 degrees F.

4. If your yuba is stiff, place it (folded) in a large mixing bowl with about 1 cup of warm vegetable broth.  Let it soak until softened.  Carefully open up the yuba sheets and arrange them in the bowl to line it. (You can leave the broth in the bowl.)

5. Place the cut Tofurky in the bowl on top of the yuba, cut-side up,  Transfer the stuffing into the bowl on top of the Tofurky, pressing to shape it into an oval. Press the sides of the Tofurky into the stuffing to make a nice oval roast shape.  Place the 2 reserved 1/2-inch Tofurky slices on top of the stuffing, pressing them in to make a firm roast.

6. Gather the yuba up and around the sides of the roast so that the roast is entirely wrapped in yuba. Place a sheet of parchment paper on top of the roast and invert a rimmed baking sheet on top.  Carefully flip the bowl and baking sheet so that the roast is now on the baking sheet.  Remove the bowl.

7. Rub the outside of the roast lightly with oil or spray it lightly with cooking oil spray. Cover with foil and bake for 1 hour.  Uncover and bake for about 20 minutes longer or until the yuba is nicely browned.

Transfer the roast to a serving platter (it’s easy to do with the parchment paper — you can then slide out the parchment paper and discard.  If your platter is large enough, surround it with roasted veggies.  Cut the roast with a serrated knife and serve with gravy.


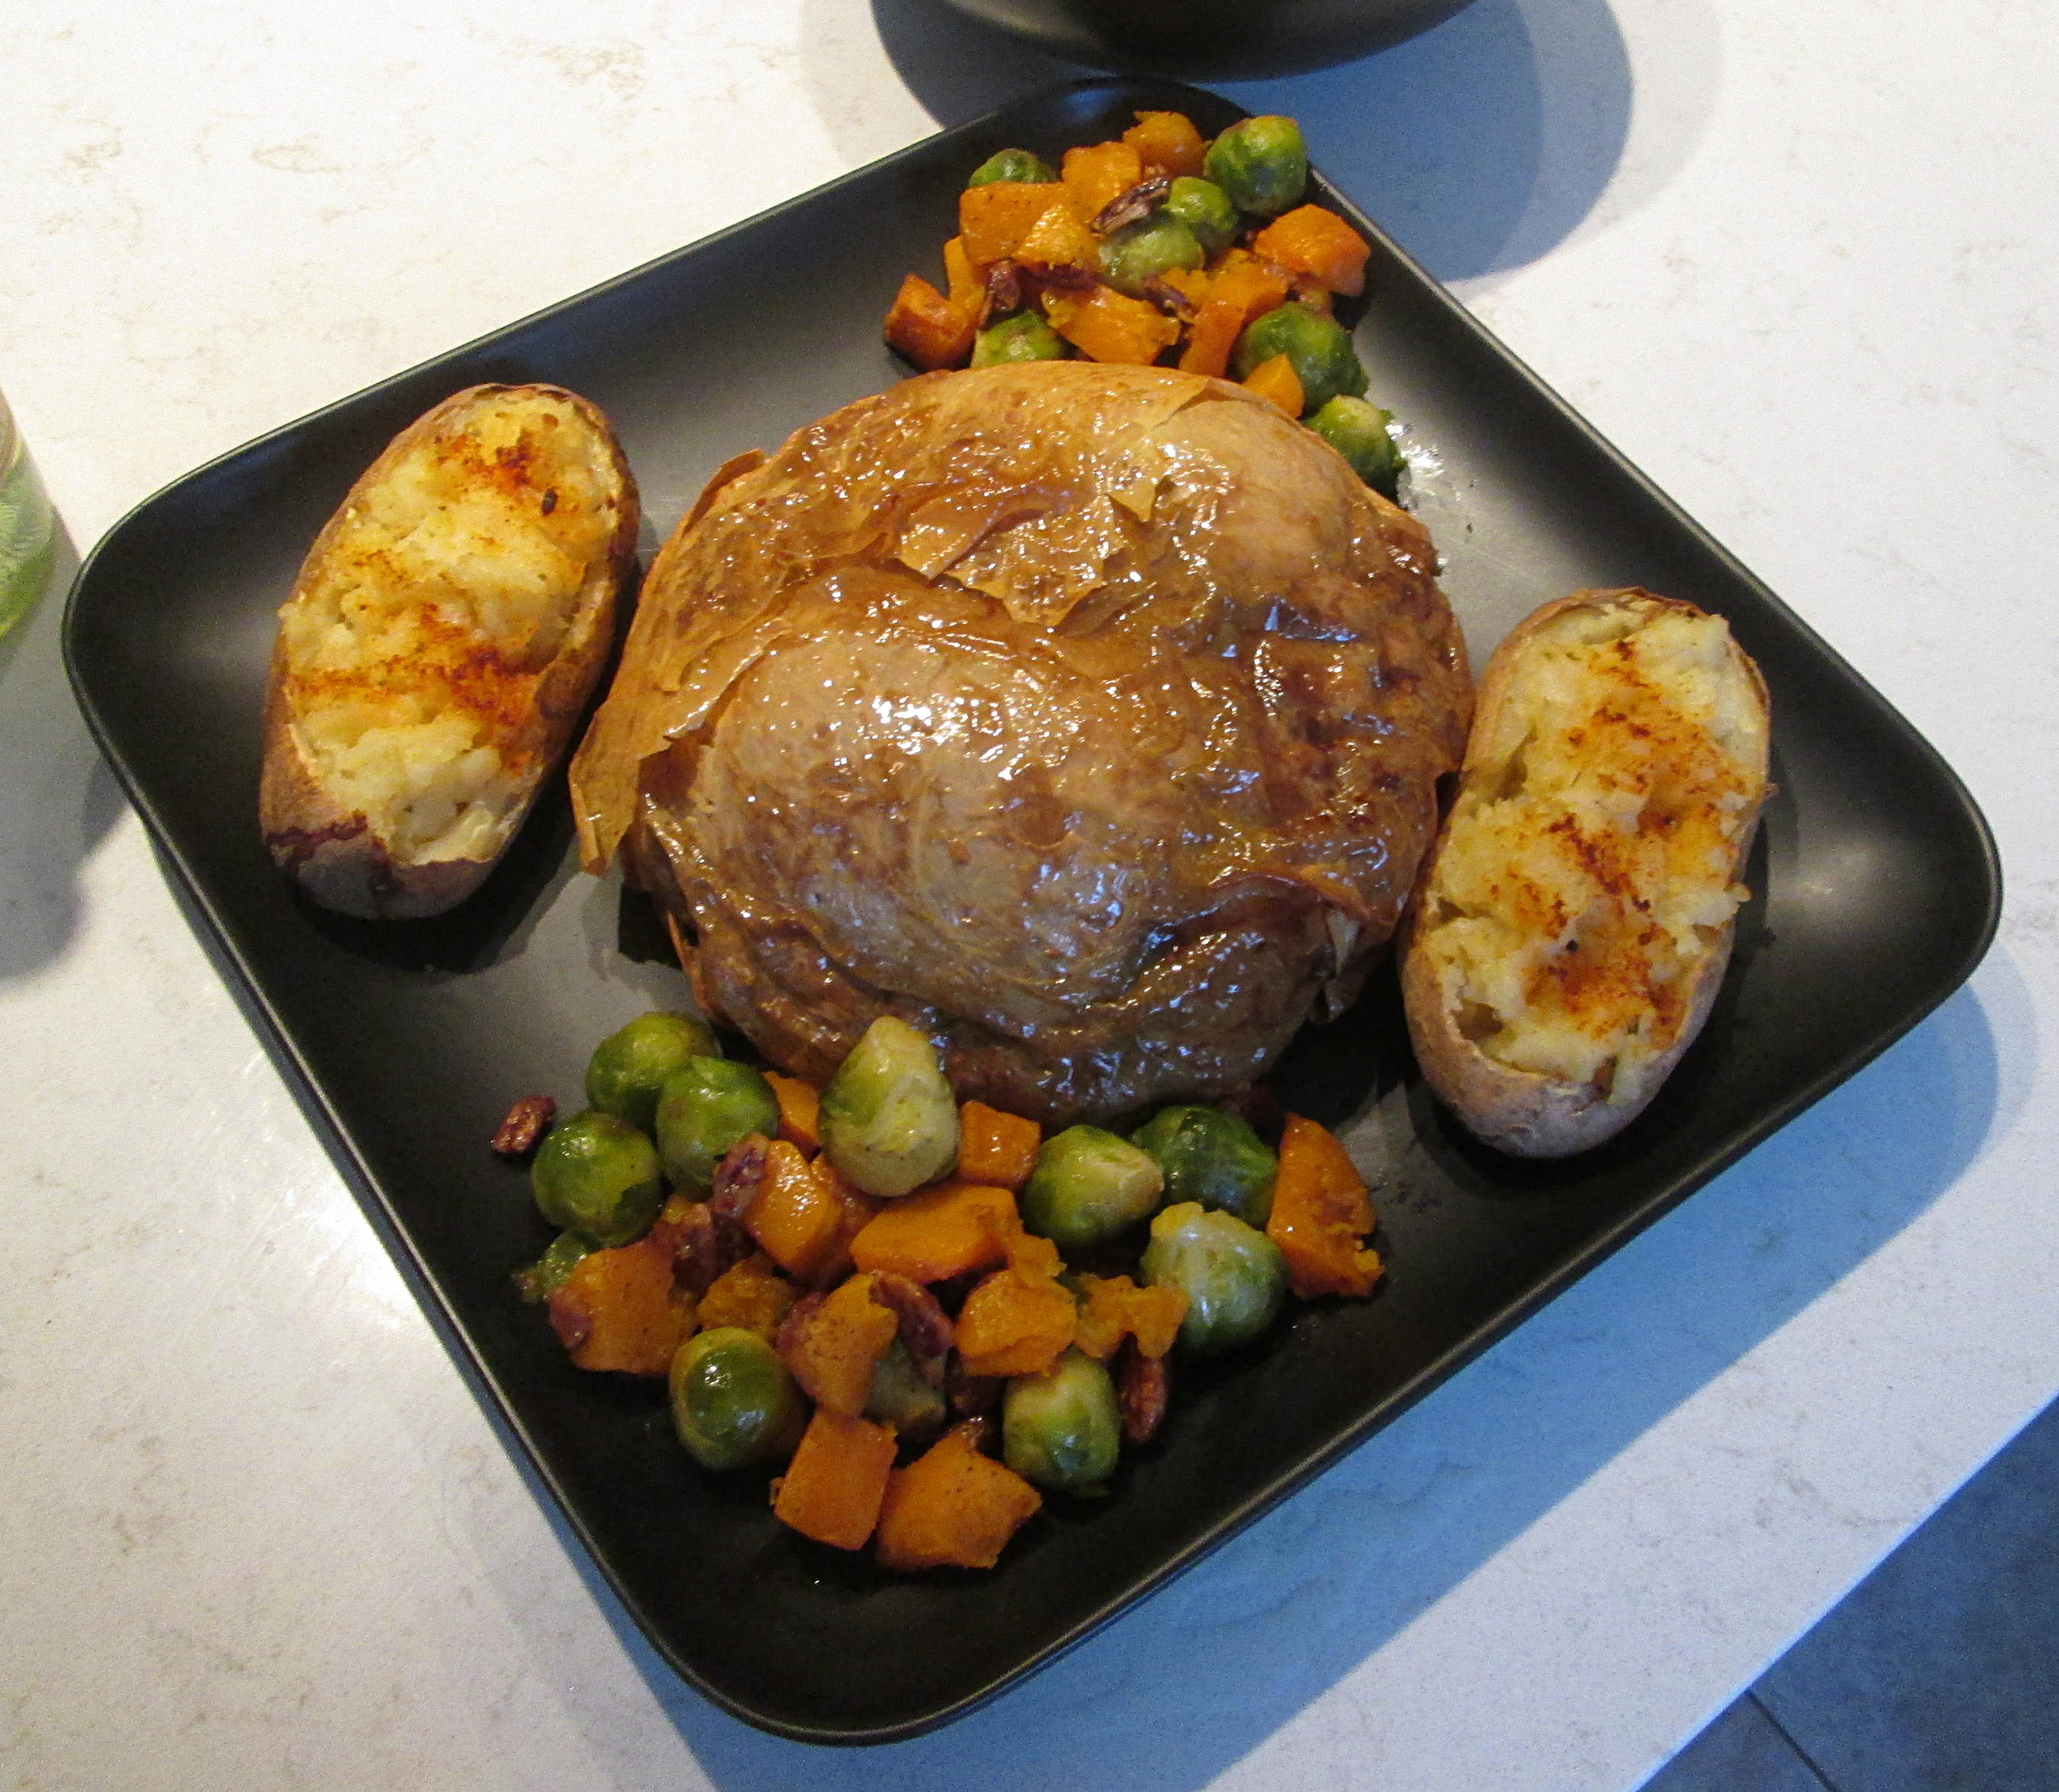
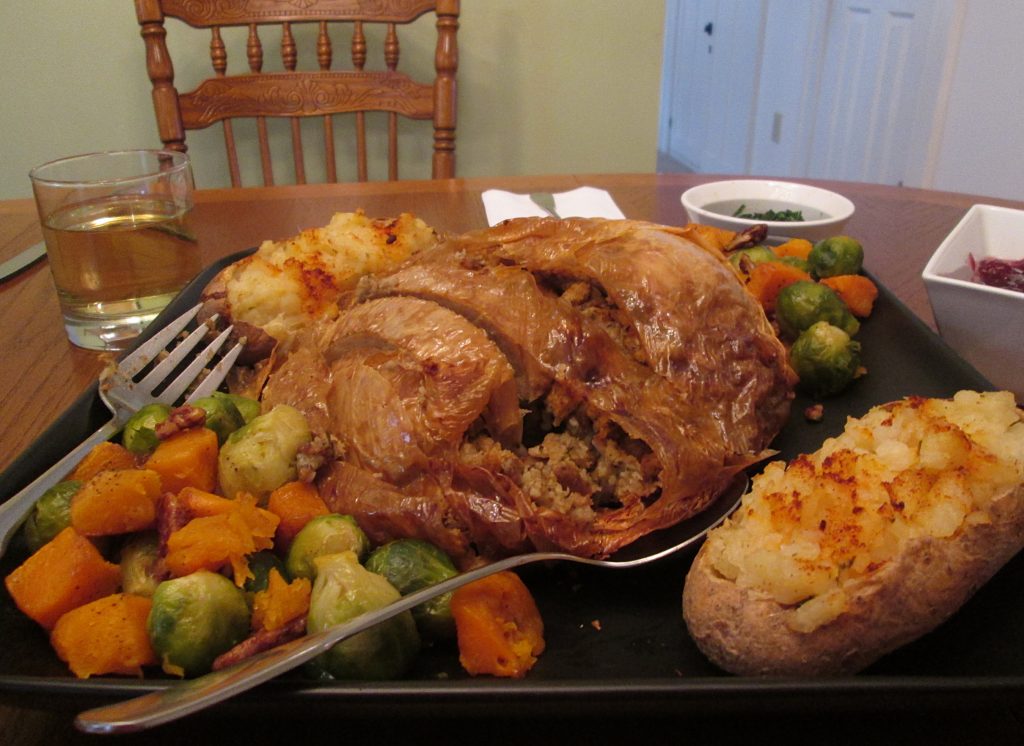
We really loved the results.  I served the roast with roasted butternut squash, Brussels sprouts, and pecans; twice-baked stuffed potatoes; and cranberry sauce.

Assembling the roastwas much easier to do than it sounds, and way more delicious with all the added stuffing and crispy yuba skin.  Plus you can serve way more people this way. Win-win, any way you look at it (especially for the turkeys).


{ 6 comments }